
Composite tooling
EPMOLD MP50: Building a Master with Hand-Applied Tooling Paste
EPMOLD MP50 is a two-component epoxy tooling paste for building accurate, lightweight masters and transition models without first machining a large solid block. The result depends less on a single material number than on controlling batch size, temperature, layer thickness, cure state, and the support structure beneath the paste.
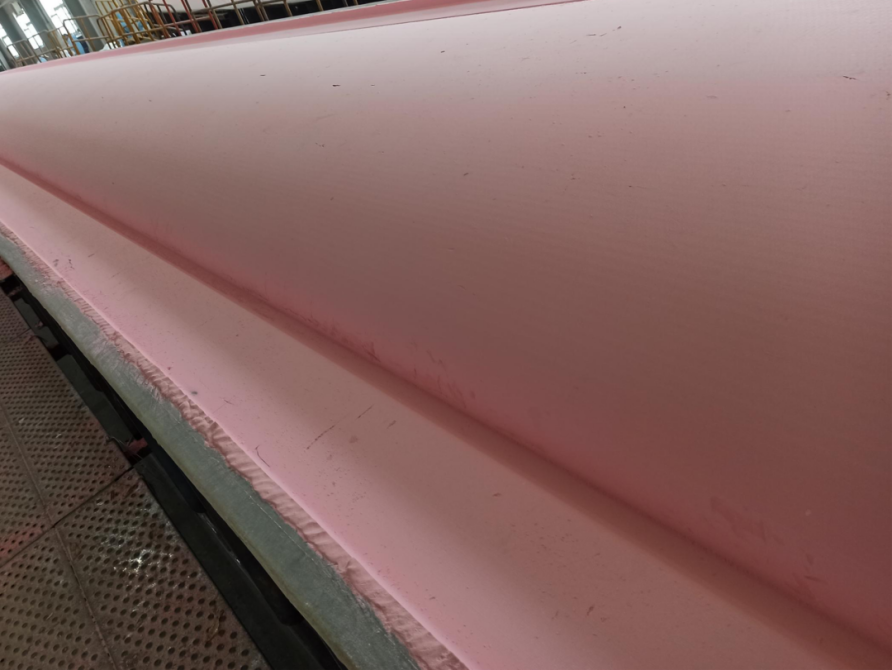
What MP50 is designed to do
MP50 is an ambient-curing epoxy paste made by combining resin paste A with hardener paste B at a 1:1 ratio by weight. The mixed material stays plastic long enough to be spread over a large or complex surface, then hardens into a low-density blank that can be five-axis machined. It is useful for a master pattern, transition model, or short-run composite mould. Foam, wood, or a steel-rib structure supplies support beneath the paste.
Typical reference values describe a cured density of about 0.45 g/cm³, Shore D hardness in the low-to-mid 50s, and a CTE that must be included in the thermal budget. The reported room-temperature, seven-day Tg is above 50 °C and rises above 60 °C after a 25 °C/24 h plus 40 °C/16 h post-cure. These are reference values, not a promise that an MP50 master is a high-temperature production tool. For hot or repeated thermal cycles, qualify a higher-temperature system or use the MP50 shape as a master for making that tool.
| Reference item | Reference process conditions | Process implication |
|---|---|---|
| Mix ratio | A:B = 1:1 by weight | Use a scale; volume ratios are not a substitute. |
| Work window | About 50–70 minutes for 500 g at 25 °C | Plan batches and use the material before viscosity rises. |
| Machinable cure | About 16–20 hours at room temperature for a 20–25 mm section | Thicker sections or colder rooms need more time or a controlled cure. |
| Single-layer limit | Up to 50 mm is reported for the paste process | Do not use a thick mass to hide poor support or to avoid heat control. |
| Coating prerequisite | Work instruction guidance uses hardness above Shore D53 | Confirm cure and surface condition before applying a master gel coat. |
Process sequence
1. Design the base before opening a kit
Start with the final surface, machining allowance, datum strategy, lifting points, and expected cure temperature. Build a rigid, clean substrate that follows the approximate geometry. A foam or wood blank can reduce paste volume; a steel-rib frame is useful for very large shapes. Where adhesion is uncertain, apply a thin compatible epoxy primer to the prepared base. The base must not flex while the paste is being pressed or while the blank is being machined.
2. Condition, weigh, and mix
Bring both components to a controlled shop temperature. Below about 20 °C the paste becomes harder to blend; warming the containers in a controlled area and allowing time for equalisation can improve flow. Keep material temperature below about 30 °C during hot-weather work because reaction speed increases with temperature. Weigh equal masses of A and B. For a small repair, fold and press the two pastes together on a clean board. For a larger batch, use a planetary mixer or commercial dough mixer, scrape the walls and corners, and continue mixing until the colour and texture are uniform; the process calls for roughly two additional minutes after apparent uniformity. Do not rely on a quick pass that leaves unmixed streaks at the vessel wall.
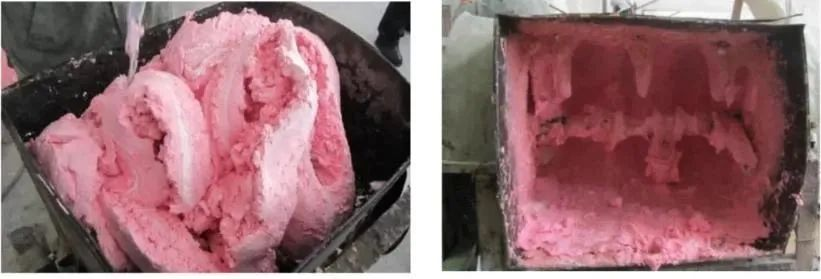
3. Run a pot-life check that matches the job
The reported 50–70 minute window is for 500 g at 25 °C. Treat it as a reference point, then make a small trial using the planned batch size, container shape, and actual material temperature. Record start time, mass, temperature, and when the paste stops spreading cleanly. Larger masses, warmer material, and thick piles accelerate reaction because heat is trapped. Schedule placement so the mixed batch is used within roughly two-thirds of the observed working window; split a large job into smaller batches when the test shows a short window.
4. Apply in compacted layers
Press the paste into thin slabs on a clean board, transfer each slab to the base, and work it down with firm, overlapping strokes. A small-block, multi-layer method helps the operator remove air and follow compound curves. Knead every joint until adjacent pieces are fully tied together; visible seams become machining and surface-finish problems later. The paste is thixotropic enough to stay on a vertical face, and the process reference reports cumulative deposits up to about 10–50 mm without sag when applied correctly. Spread thick areas rather than leaving a hot, isolated lump, and keep the support structure continuous beneath them.
5. Cure, then machine
At room temperature, a 20–25 mm section is reported to reach machinable hardness in about 16–20 hours. Cold rooms and heavier sections take longer. For a large blank, a controlled warm cure in the 35–80 °C range can be used when the support and temperature ramp are suitable. After cure, inspect hardness, voids, joints, and movement before fixturing. Five-axis CNC can then establish datums and finish the surface with limited manual sanding because the cured structure is uniform and cuts readily.
6. Coat only a properly prepared master
When a smooth, high-gloss master is required, finish-machine and lightly abrade the surface, then remove every trace of dust and moisture. Allow the paste to reach the specified hardness; the application guidance calls for more than Shore D53 before spraying an easy-sand epoxy gel coat. Spray in a clean, dry area around 20–30 °C. High humidity, wet surfaces, or temperatures above about 35 °C can reduce gel-coat adhesion or make solvent flash-off and cure too fast. This coating step describes a master or pattern surface. It does not make the MP50 system suitable for a high-temperature final tool by itself.
Fit the architecture to the industry
- Wind blades: A steel-rib or foam skeleton with a glass skin and MP50 surface can create a long, seamless blade master. Work in controlled sections and verify full-length datums before making the production mould; large volumes still require exotherm and distortion control.
- Automotive: The paste suits concept-car body masters and one-off or very short-run carbon-fibre panels. It replaces joined boards with a continuous surface that is easy to machine and revise. Repeated hot cures or high-volume production call for a qualified higher-temperature tool.
- Aerospace: MP50 suits prototypes, complex-surface masters, and transition tooling. It can define geometry for a carbon-fibre mould that is subsequently laminated and post-cured. Before a production cure cycle, document the master’s cure history, dimensional stability, thermal exposure, and the final tool’s qualification.
Practical selection rule
Choose MP50 when low mass, hand-built geometry, rapid machining, and room-temperature or low-temperature use govern the job. Choose a different tooling system when the final mould must repeatedly withstand a high-temperature composite cure. Control the batch, test the working window at the real mass and temperature, confirm cure before coating, and qualify the complete base-paste-finish architecture as one system.